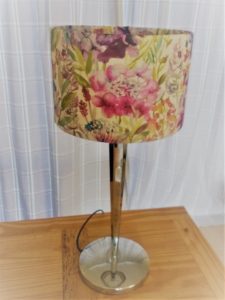
Cover a lampshade.
You will need
A lampshade
Some gorgeous fabric ( I used upholstery fabric which is much thicker than cotton)
PVA or Copydex glue
Some material scissors
Please always read to the end of the instructions before purchasing any materials as you never know what extra hints and tips you might pick up!!
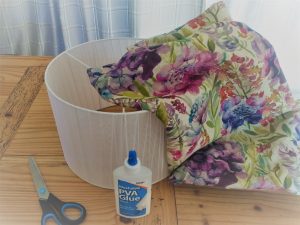
This really is a super easy and quick thing to do and can completely transform an unloved corner of your home. Let’s get started!
Cut your fabric to fit your lampshade making sure you have some overlap.
Next cover your fabric in glue and roll your lamp shade until it’s fully covered.
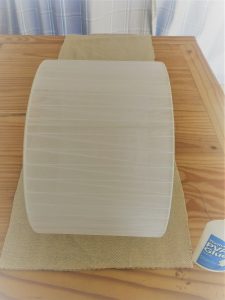
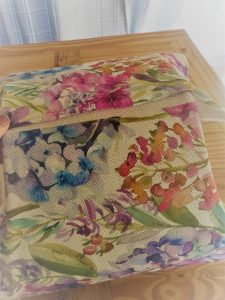
Fold over the end to create a neat edge and press down.
Turn your shade around and glue along the overlap edges and turn down the fabric on itself.
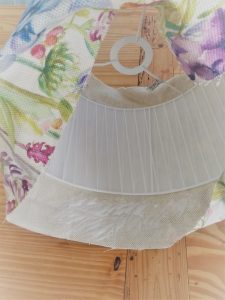
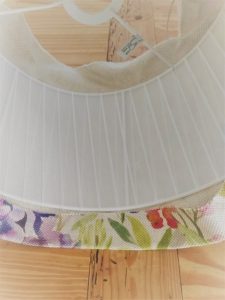
Then glue along the folded edge and fold up onto the shade.
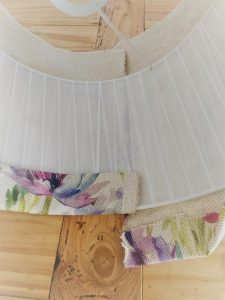
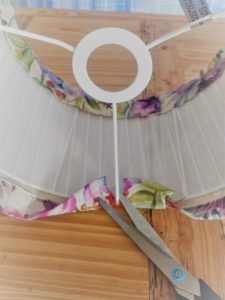
Turn the shade around and do the same with the other side. It may have struts at the edge if so just cut the fabric according to where they are.Again glue the edges and fold fabric up onto the lampshade and there you have it a beautifully unique lampshade for more than half the price!
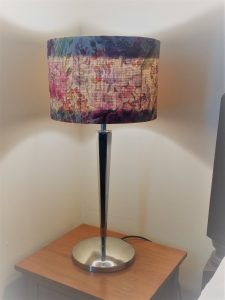
Tips and hints from the honest crafter.
Crafting is not a perfect science and you really need to think about the small things to make your finish flawless! I made two fundamental mistakes when doing my shade and I’m certainly not afraid to tell you so you don’t make them yourself. Firstly I have only ever covered a paper shade before and with this the glue worked perfectly, however with the material shade I bought ( as it was the cheapest and I like to be a frugal crafter ) the glue didn’t stick as well and I actually needed to stitch some invisible stitches along the fold to hold it perfectly in place which was a little tricky and sticky because of the glue!! I also did a few stitches around the top edges to hold it in place.
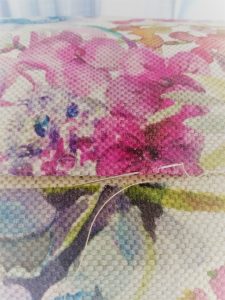
Mistake number two I forgot to think about the way the light will shine out of the lampshade and if I had been thinking I would have either created a very small fold over the top and bottom or met the fabric in the middle so’s not to create those lines. See photo. I actually added in a panel of fabric for a better finish.

Over to you crafty friends!!
